Approval Manager
Approval Manager
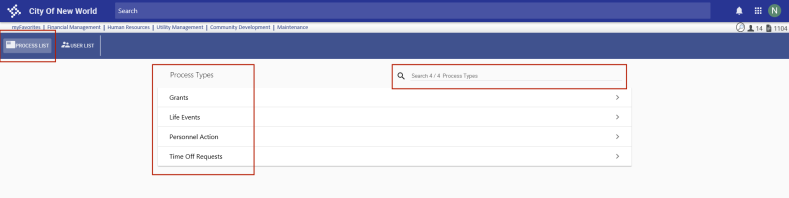
Use the Approval Manager page to create and manage approval processes.
Creating an approval process involves setting up approval levels, associating departments with the process and, for each department, selecting users to approve at each level.
-
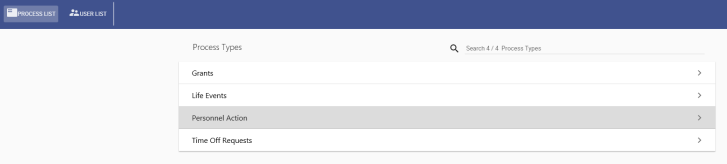
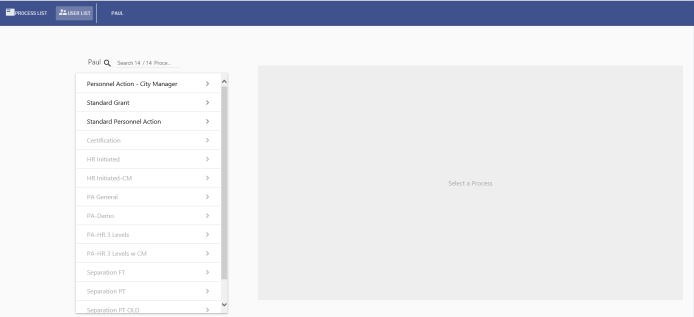
The default tab is the
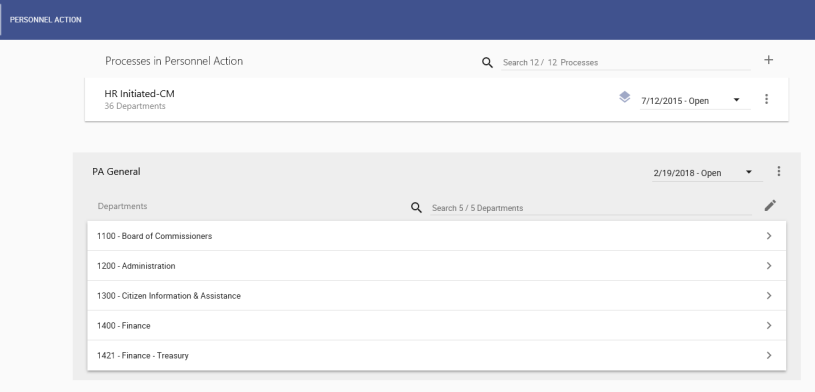
 PROCESS LIST. All the available approval process types are listed alphabetically on individual cards.
 -
Every page of the Approval Manager contains a search field. Use this field to find the process type you want.
-
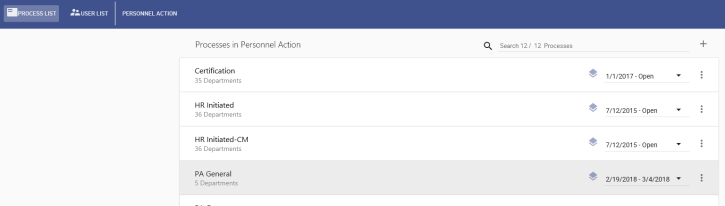
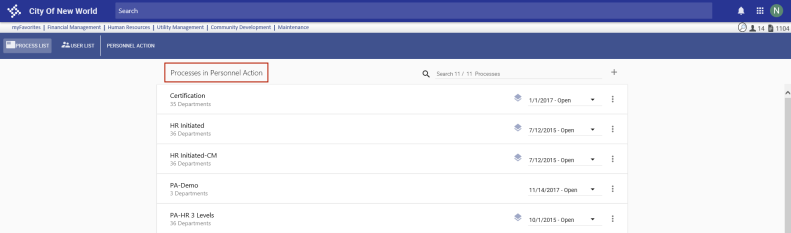
To view a
list of all processes that have been set up for a process type, click the appropriate card. Processes also are listed alphabetically on individual cards. -
To create a process, click the
plus sign  just above the card display on the right side.
 -
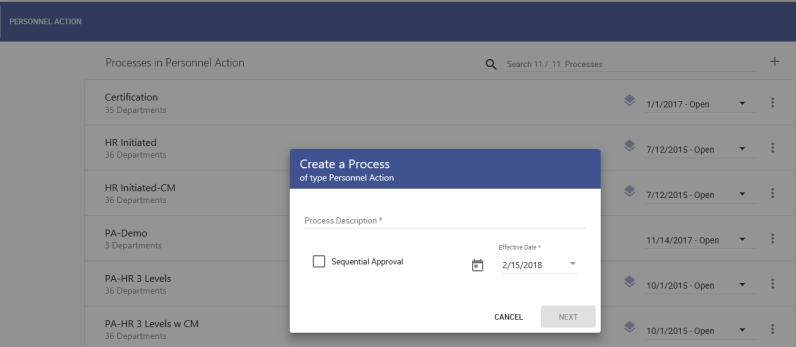
The
Create a Process dialog opens, asking for a description of the process, whether approvals will be sequential and the date the process becomes effective. -
Click NEXT to open the
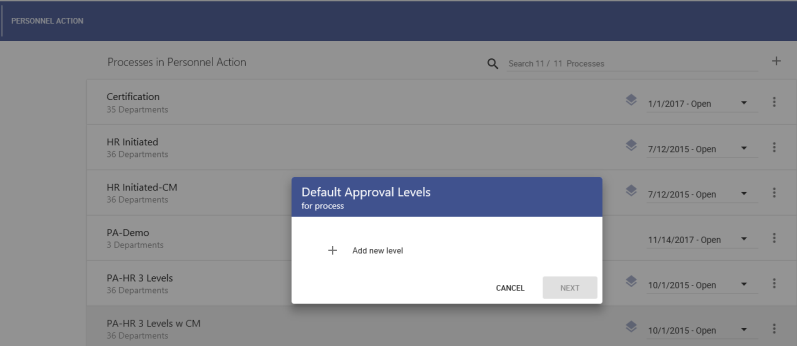
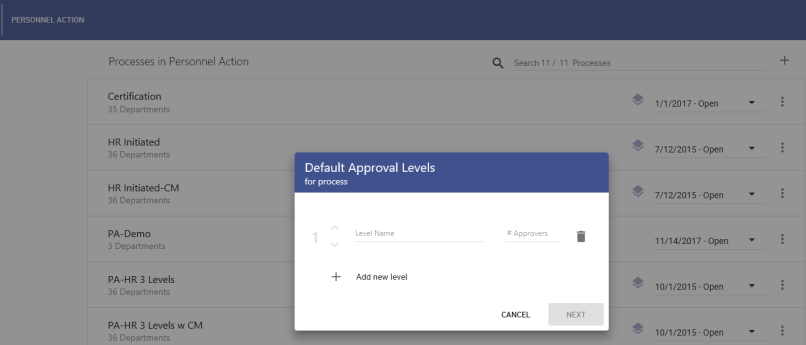
Default Approval Levels dialog.Note: The Default Approval Levels function lets you set up departments with default and custom approval levels.
-
To add an approval level, click the plus sign
on the dialog. The dialog expands to include a field for the name of the first level and the number of approvers at that level. -
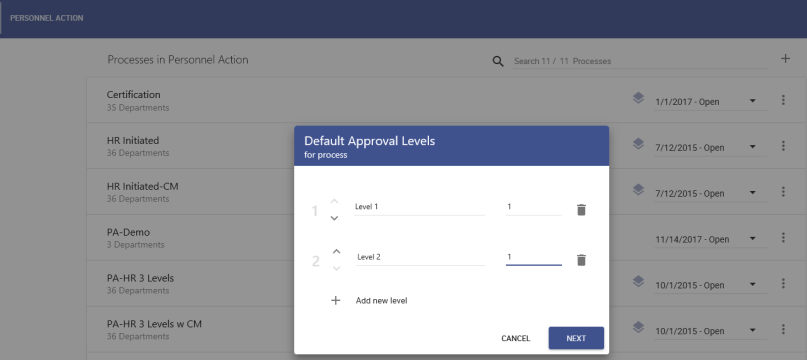
To add a
second approval level, click Add new level. You may add up to nine levels. To move a level up or down, click the caret symbol (^) to the left of the level description. -
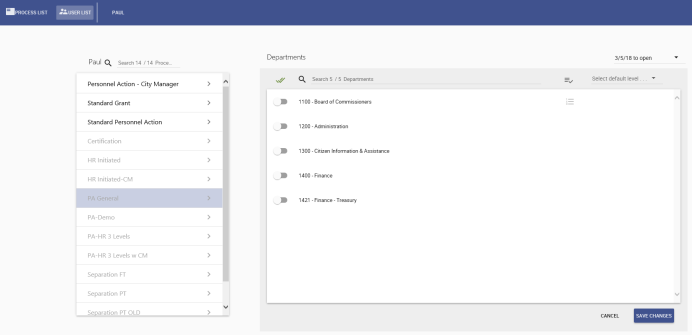
When finished, click the NEXT button. The
Select Departments dialog opens. -
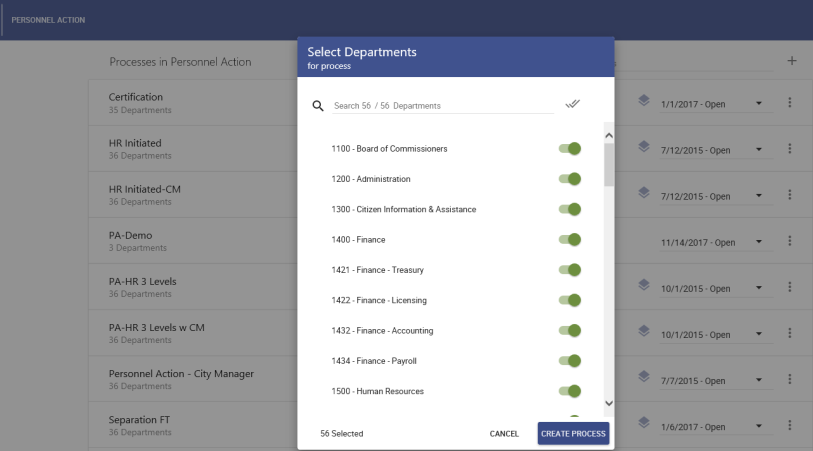
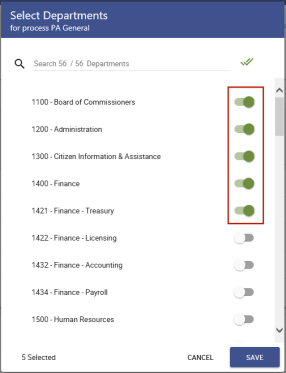
All departments are selected by default. The double check mark
 near the top-right of the dialog lets you deselect and select all departments at once. You may deselect all, then scroll through the list to select the departments you want to associate with the approval process. By default, each department you select is associated with the same approval levels.
 -
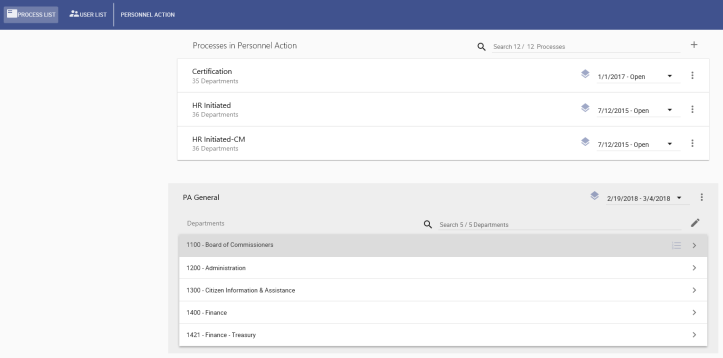
When finished, click the CREATE PROCESS button. The
approval process is created, and the selected departments are listed on individual cards.By default, the approval level structure is copied to each department.
The next steps are to associate users in each department with approval levels.


-
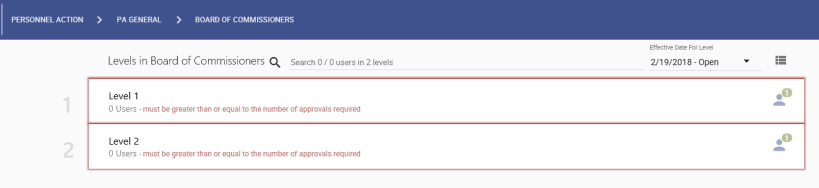
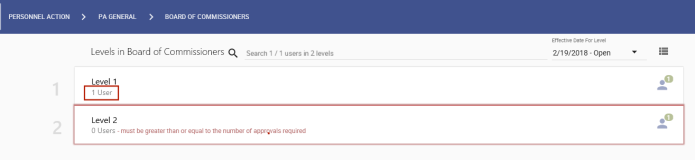
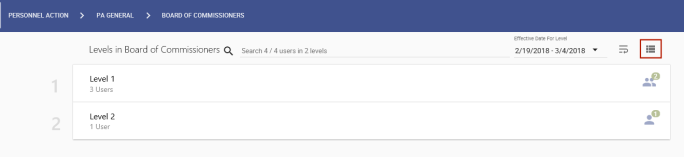
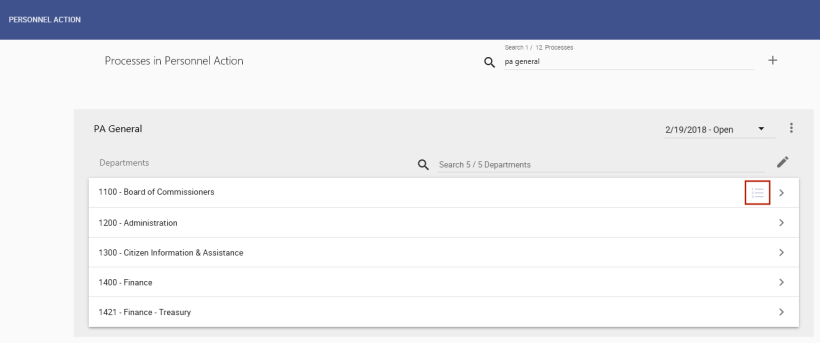
Click a department card to expand it.
Approval levels display as individual cards containing the message that the number of users must be equal to or greater than the number of approvals required. The user icon  on the far-right of each card shows how many users are required to approve at that level.
 -
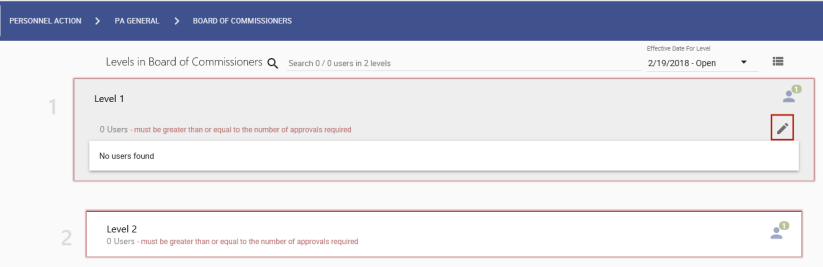
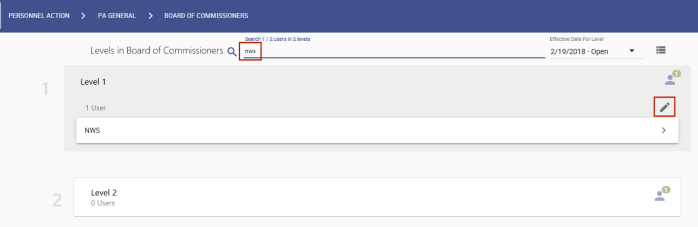
Click an approval level to
expand it, and click the pencil icon  .
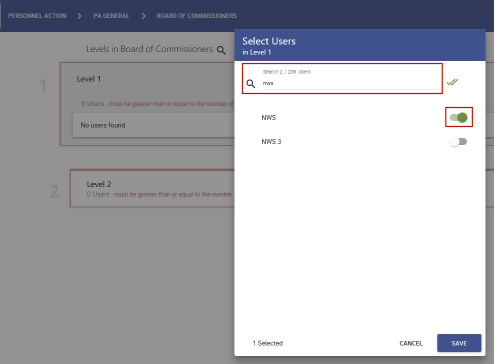
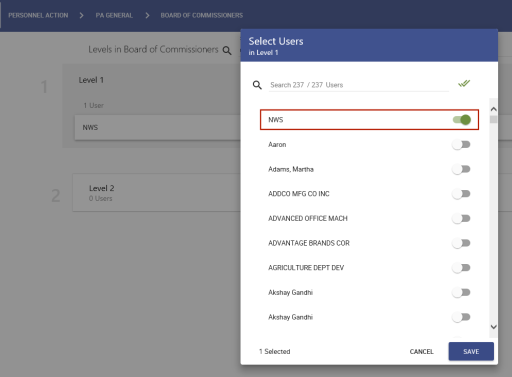
.The
Select Users dialog opens, with all users deselected by default. - Use the search field to find the user(s) you want for the selected level.
-
Select the user(s) who are to approve at this level.
-
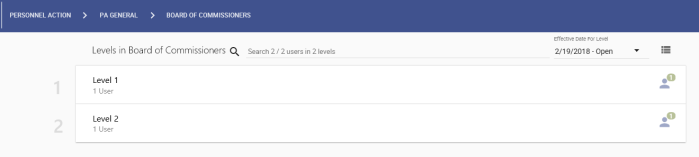
Click SAVE. The
user(s) are added to the approval level. -
Repeat steps 2 through 5 for each approval level until all levels are
completed.

Reviewing or removing a user from a level
-
Type the user's name in the Search field at the top of the page. The card containing the user
expands. -
Click the pencil icon
above the user's card to open the Select Users dialog. - Click in the user's row to remove the user as an approver.
Editing the level structure
-
To add, edit or remove a level or to reorder levels, click the
Edit Level Structure menu in the top-right of the page.
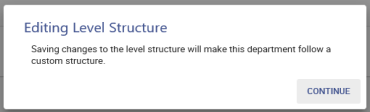
If you are editing a level set up as a default, a
warning dialog displays to let you know you are creating a custom approval level structure for the selected department. -
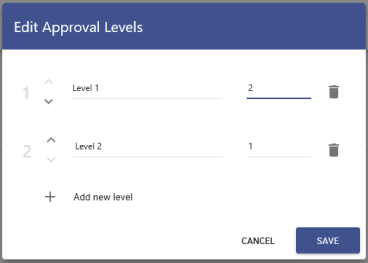
Click CONTINUE. The
Edit Approval Levels dialog opens. - Make your edits.
- Click SAVE.
Reverting to the default approval level structure
After you edit the approval level structure for a department, a ![]() revert icon
revert icon  displays to the left of the Edit Level Structure menu to let you revert to the default level structure.
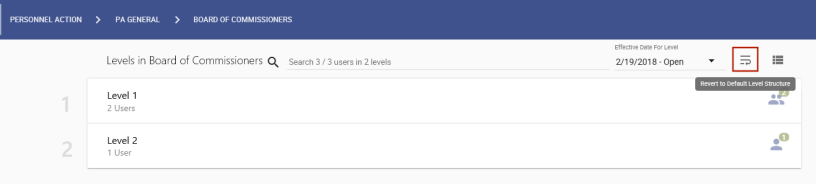
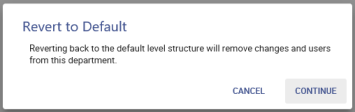
Clicking this icon opens a ![]() warning dialog to let you know that continuing will revert to the default level structure, removing changes and users from the department.
warning dialog to let you know that continuing will revert to the default level structure, removing changes and users from the department.
If you have any departments with custom approval levels, a Custom Approval Levels icon  appears on the right side of the
 ![]() card.
card.
Note: A department with custom approval levels maintains the custom-level structure unless you revert it to the default structure.

To view or edit default approval levels, manage notifications or edit an approval process, click the Actions menu icon in the top-right corner of the ![]() process card.
process card.

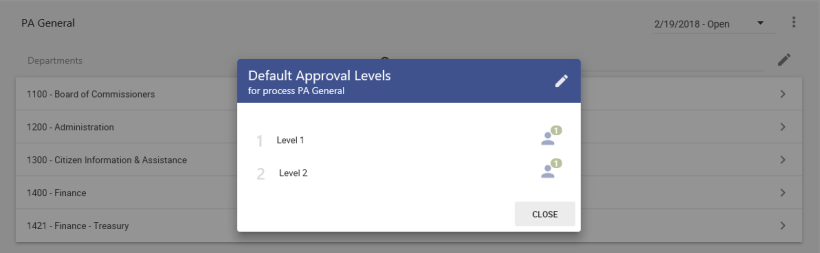
View/Edit Default Levels
The View/Edit Default Levels menu option opens the ![]() Default Approval Levels dialog in view mode. To edit the levels, click the pencil icon
Default Approval Levels dialog in view mode. To edit the levels, click the pencil icon  in the top-right corner of the dialog.
Note: A department with custom approval levels maintains the custom-level structure unless you revert it to the default structure.
Notification Settings
The Notification Settings option opens the ![]() Manage Notifications dialog for the selected process.
Manage Notifications dialog for the selected process.
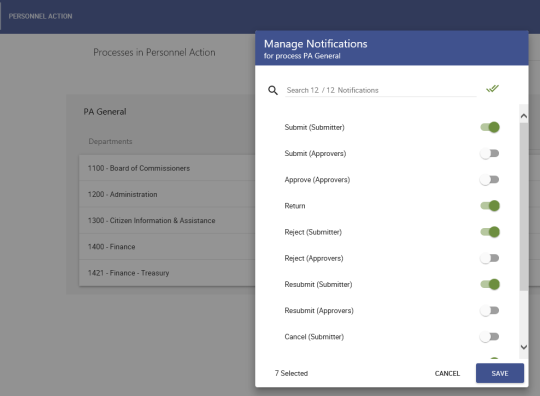
Use this dialog to select the approval events that will generate emails. To view or edit the templates that are set up for each notification, navigate to Maintenance > new world ERP Suite > System > Email Templates.
Edit Process
Clicking the Edit Process option opens the ![]() Edit Process dialog.
Edit Process dialog.
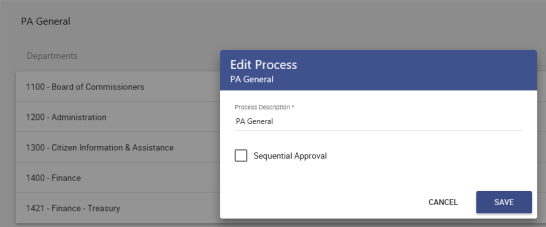
You may edit the Process Description and select or deselect Sequential Approval. If an approval process is set up to be sequential, an icon  displays on the right side of the
 ![]() process card, to the left of the effective date range.
process card, to the left of the effective date range.
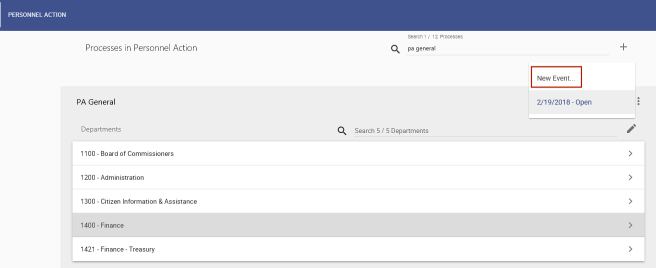
To change the effective date range of a process or approval level, you need to create a new instance of the process or approval level.
- Click in the effective date field near the top-right area of the display.
-
Click the
New Event option.The
Create Event dialog opens. -
Select the
new effective date. -
Click the
CREATE EVENT button.


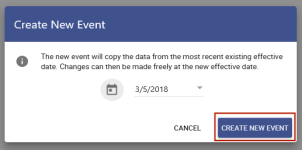
All data from the current process is copied to the new process, and an end date of the day before the new effective date is applied to the current process. You may edit the data for the ![]() new process, including departments, approval levels and users, as necessary.
new process, including departments, approval levels and users, as necessary.

The new process becomes the default selection, but you may select any other from the ![]() drop-down.
drop-down.

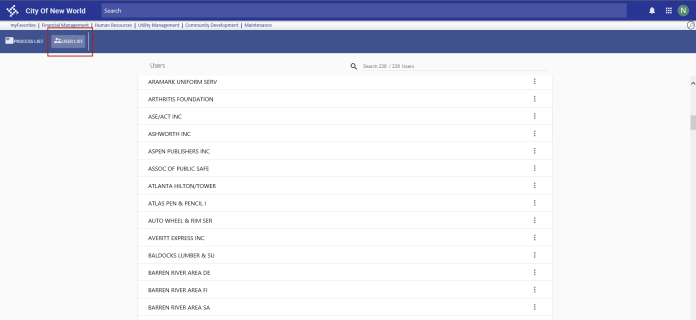
In addition to the PROCESS LIST, you have the option to work from the USER LIST.
-
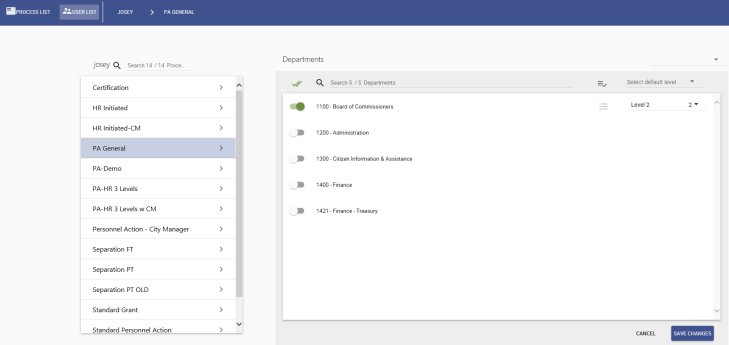
Click the USER LIST tab to the right of the PROCESS LIST tab. An
alphabetical list of all users displays, with each user listed on a card. - Use the Search field at the top to find a user.
-
When the user's card appears, click it. The
page refreshes to show a list of all processes on the left, with the ones associated with the user displayed alphabetically at the top and the text of the remaining processes, the ones not associated with the user, grayed-out below. You may associate the user with any of the processes. -
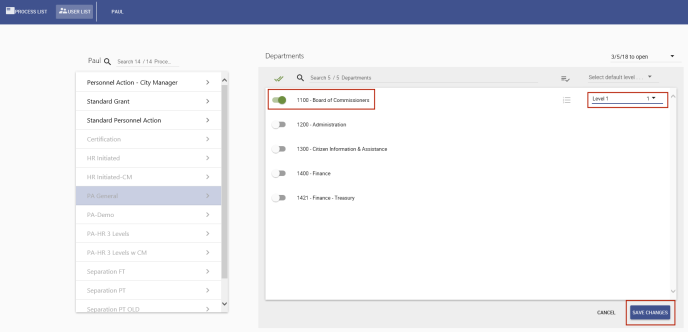
Select a process. A
list of the departments associated with the process loads in a panel on the right. - Any department already associated with the user is selected. To associate the user with a new department, select it.
-
A
Select a Level field appears on the right. Select the user's approval level from the drop-down. - Click the SAVE CHANGES button on the bottom-right.
-
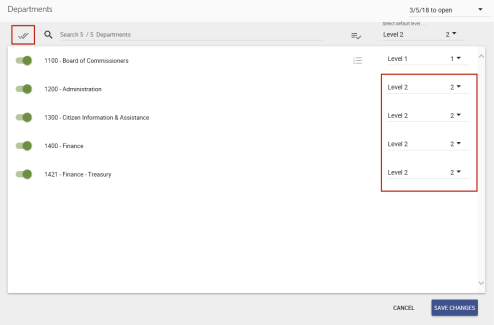
To select a user's default approval level for any departments that do not have a custom approval setup, select the default level in the
Select default level field in the top-right border of the Departments panel. -
As you select the departments, the user is automatically added to the default level, which appears on the
right. (To select or deselect all departments at once, click the double check mark to the left of the Search field.) - Click SAVE CHANGES.

The Select default level drop-down also contains Highest Level and Lowest Level options. These options also apply to departments with custom approvals. Whatever department you select adds the user to the highest or lowest approval level for that department.
To apply the lowest or highest level to all departments at once, select the level, and click the Apply to all departments icon  to the left of the Select default level field.
Copy User
To copy one user's approval setup to other users, follow these steps:
- From the USER LIST, search for the user whose approval setup you want to copy to other users.
-
Click the Actions menu icon
 . A Copy to users option displays.
 -
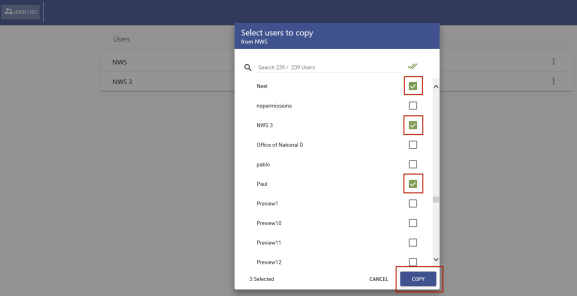
Select the option. A
Select users to copy dialog opens. -
Select all the users you want to have the same department and approval associations as the selected user.
Note: Whatever setup the copy-to users currently have will be overridden by the setup of the copy-from user.
- Click the COPY button.

Shortcut to modifying a user's department setup
Another, quicker way to modify a user's department setup is as follows:
-
From the PROCESS LIST tab, click a
process type. -
Click a
process. -
Click a
department. -
Click a
level that includes the user. -
Click the
user.